前言
本篇博文是使用 32 位的 MinGW 在 Windows 下编译 OpenCV 生成 32 位的 dll。
关于使用 64 位的 MinGW 编译 OpenCV 生成 64 位的 dll,见:OpenCV使用CMake和MinGW-w64的编译安装
编译好的 OpenCV(MinGW 版):
Github . huihut/OpenCV-MinGW-Build
软件环境
- Windows-10-64bit
- Qt-5.9.3
- MinGW-5.3.0-32bit
- CMake-3.9.2
- OpenCV-3.3.1 / 3.4.1 / 3.4.5 / 3.4.6 / 3.4.7 (适用)
OpenCV 的 MSVC 版及 MinGW 版
MSVC 版
下载的 OpenCV 文件夹会有:
- build (已编译好的库)
- sources (源码)
使用 MSVC 的话,直接在
1 | build/x64/vc14 |
里面就有了,配置好路径就可以使用。
MinGW 版
OpenCV 没有为我们编译好 MinGW 版,所以我们只能自己编译,下面就是介绍 MinGW 版的编译流程。
也可以直接下载使用我编译好了的 OpenCV (在上文)。
安装及配置 Qt、MinGW、CMake
安装
CMake 自行安装,Qt 和 MinGW 可以直接使用qt-opensource-windows-x86-5.9.3.exe 安装包安装,注意选择安装的组件(components)的时候勾选 MinGW :
- Qt-Qt5.9-MingGW 5.3.0 32 bit
- Qt-Tools-MinGW 5.3.0
配置 Qt、MinGW
安装好后打开 QtCreator,在工具-选项-构建和运行-构建套件,选中Desktop Qt 5.9.3 MinGW 32bit,设为默认,OK。
添加 MinGW 到环境变量
为用户变量 Path 添加 E:\Qt\Qt5.9.3\Tools\mingw530_32\bin
使环境变量生效
打开命令提示符 CMD,运行 set PATH=C:,更改当前窗口任务的环境变量,关闭这个 CMD。
再次打开另一个 CMD,运行 echo %PATH%,显示最新的环境变量,会发现刚刚添加的 MinGW 环境变量已经生效。
使用 CMake 生成 OpenCV 的 Makefile
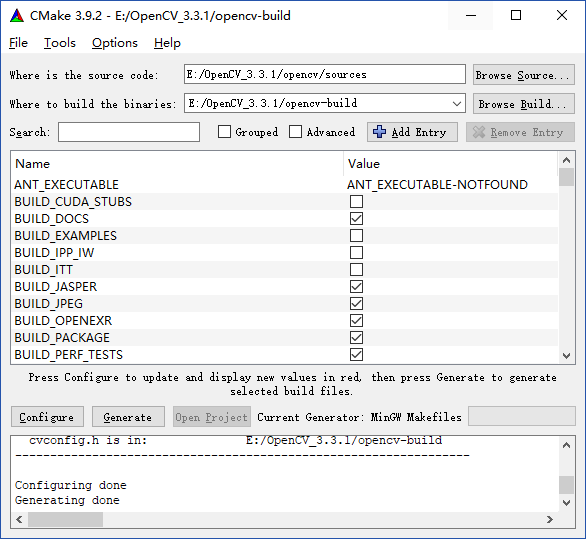
打开 cmake-gui,设置源码和生成路径:
- Where is the source code:
E:/OpenCV_3.3.1/opencv/sources - Where to build the binaries:
E:/OpenCV_3.3.1/opencv-build
点击 Configure,设置编译器
- Specify the generator for this project:
MinGW Makefiles - Specify native compilers
- Next
- Compilers C:
E:\Qt\Qt5.9.3\Tools\mingw530_32\bin\gcc.exe - Compilers C++:
E:\Qt\Qt5.9.3\Tools\mingw530_32\bin\g++.exe - Finish
编译配置:
- 勾选
WITH_QT - 勾选
WITH_OPENGL
点击 Configure,再次配置:
- 不勾选
WITH_IPP - 设置
QT_MAKE_EXECUTABLE为E:\Qt\Qt5.9.3\5.9.3\mingw53_32\bin\qmake.exe - 设置
Qt5Concurrent_DIR为E:\Qt\Qt5.9.3\5.9.3\mingw53_32\lib\cmake\Qt5Concurrent - 设置
Qt5Core_DIR为E:\Qt\Qt5.9.3\5.9.3\mingw53_32\lib\cmake\Qt5Core - 设置
Qt5Gui_DIR为E:\Qt\Qt5.9.3\5.9.3\mingw53_32\lib\cmake\Qt5Gui - 设置
Qt5Test_DIR为E:\Qt\Qt5.9.3\5.9.3\mingw53_32\lib\cmake\Qt5Test - 设置
Qt5Widgets_DIR为E:\Qt\Qt5.9.3\5.9.3\mingw53_32\lib\cmake\Qt5Widgets - 设置
Qt5OpenGL_DIR为E:\Qt\Qt5.9.3\5.9.3\mingw53_32\lib\cmake\Qt5OpenGL - 设置
CMAKE_BUILD_TYPE为Release或者RelWithDebInfo
点击 Generate 生成 Makefile
编译 OpenCV
打开终端进行编译:(-j 是使用 8 个线程进行编译,请根据你的计算机配置合理设置线程数)
1 | E: |
如果 mingw32-make -j 8 遇到错误,请看下面的 编译 OpenCV 常见错误,否则执行 mingw32-make install,完成安装。
编译 OpenCV 常见错误
0. 多线程编译错误信息不明确
表现
如果使用了多线程编译,导致错误,但是错误信息不明确,如:
1 | Makefile:161: recipe for target 'all' failed |
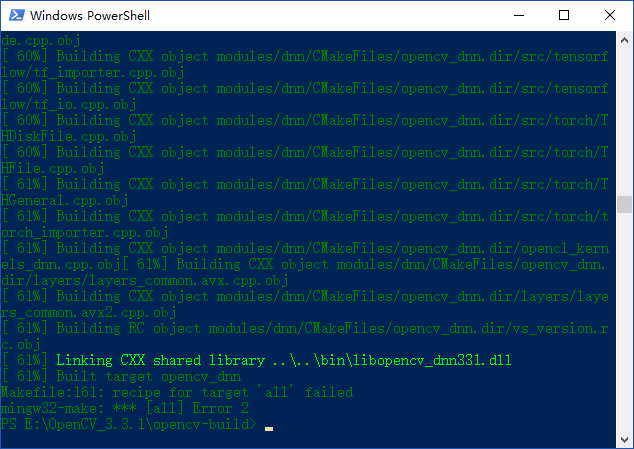
解决
使用单线程编译:
1 | mingw32-make |
以查看详细的错误提示,再根据具体情况解决。
1. RC 错误
表现
1 | ... windres.exe: unknown option -- W ... |
或者
1 | FORMAT is one of rc, res, or coff, and is deduced from the file name |
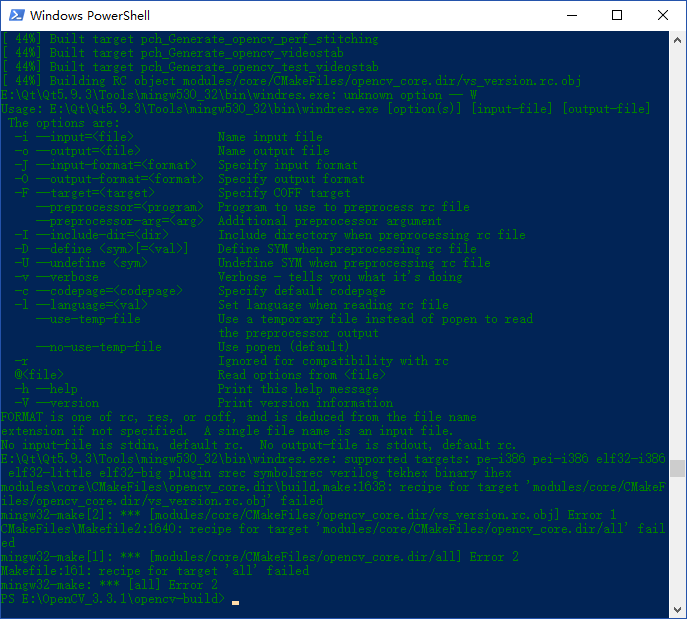
解决
在 cmake-gui 编译配置中:
- 不勾选
ENABLE_PRECOMPILED_HEADERS
然后重新 Configure-Generate-mingw32-make
2. sprintf_instead_use_StringCbPrintfA_or_StringCchPrintfA 错误
表现
1 | ...opencv/sources/modules/videoio/src/cap_dshow.cpp... |
或者
1 | Makefile:161: recipe for target 'all' failed |
解决
修改E:\OpenCV_3.3.1\opencv\sources\modules\videoio\src\cap_dshow.cpp文件,在#include "DShow.h"这行的上面加一行#define NO_DSHOW_STRSAFE,如:
1 | #define NO_DSHOW_STRSAFE |
然后重新 Configure-Generate-mingw32-make
3. identifier ‘nullptr’ is a keyword in C++11 错误【2018年3月2日编译OpenCV 3.4.1时遇到并解决】
表现
1 | D:\opencv-3.4.1\opencv-3.4.1\3rdparty\protobuf\src\google\protobuf\stubs\io_win32.cc:94:3: warning: identifier 'nullptr' is a keyword in C++11 [-Wc++0x-compat] |
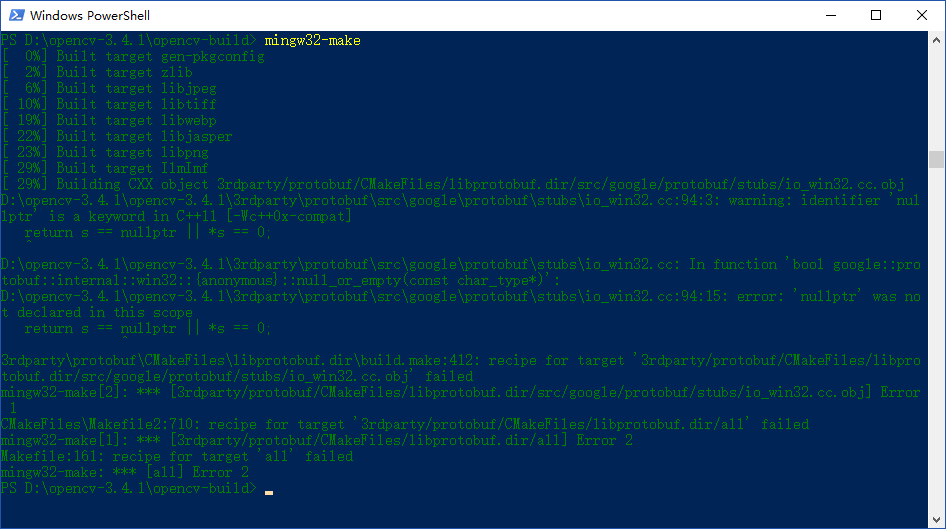
解决
在 cmake-gui 编译配置中:
- 勾选
ENABLE_CXX11
然后重新 Configure-Generate-mingw32-make
4. ‘chmod’ 不是内部或外部命令,也不是可运行的程序 或批处理文件 | ‘chmod’ is not recognized as an internal or external command【2019年9月2日编译OpenCV 3.4.7时遇到并解决】
表现
1 | 'chmod' 不是内部或外部命令,也不是可运行的程序 或批处理文件 |
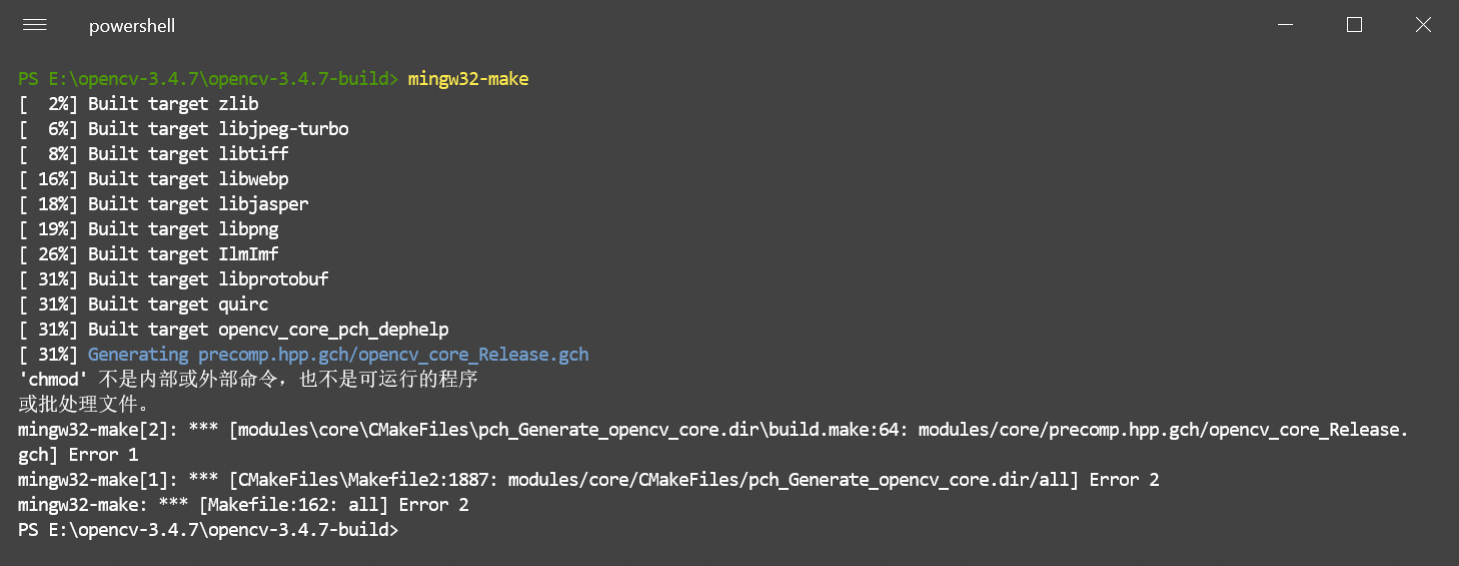
原因
在 E:\opencv-3.4.7\opencv-3.4.7\cmake\OpenCVPCHSupport.cmake 中使用了 chmod 命令,然而 Windows 下不支持 chmod 命令,因此报错。
解决
判断系统是否 Windows,若是 Windows,则不使用 COMMAND chmod +x "${_pch_generate_file_cmd}",如我提的 PR 中的修改:fix ‘chmod’ is not recognized as an internal or external command in Windows #15433
修改后再重新 Configure-Generate-mingw32-make
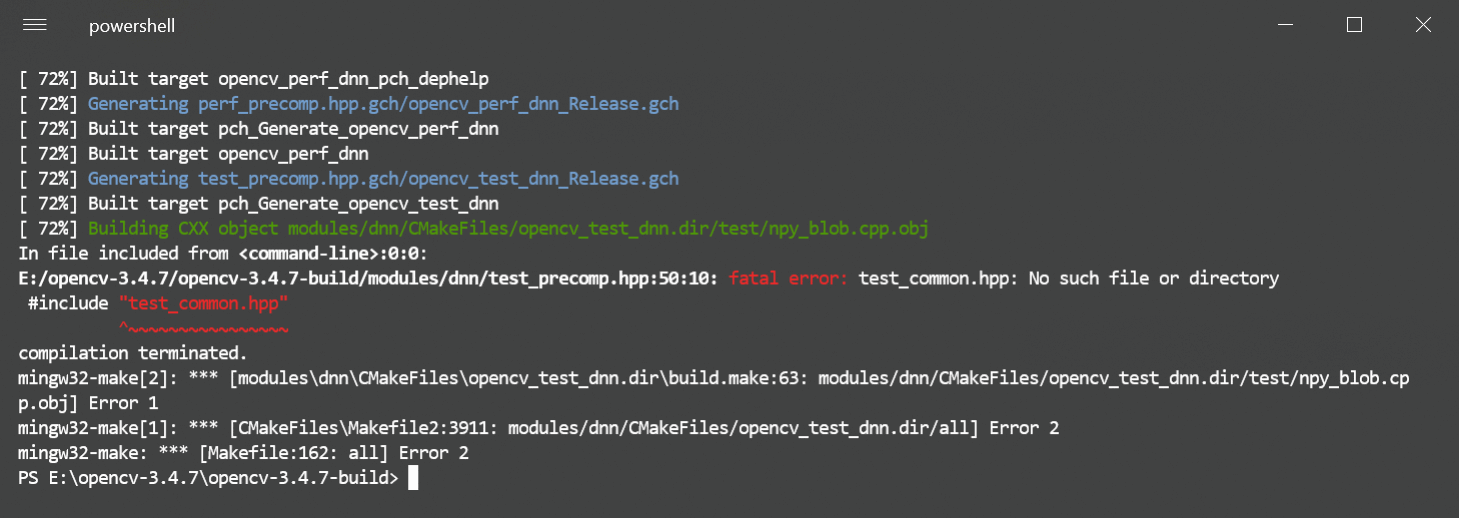
5. test_common.hpp: No such file or directory【2019年9月2日编译OpenCV 3.4.7时遇到并解决】
表现
1 | In file included from <command-line>:0:0: |
解决
方法一:(issues/15381)
在 cmake-gui 编译配置中:
- 不勾选
ENABLE_PRECOMPILED_HEADERS(禁用预编译头)
然后重新 Configure-Generate-mingw32-make
方法二:
把 E:\opencv-3.4.7\opencv-3.4.7\modules\dnn\test\test_common.hpp 复制到 E:\opencv-3.4.7\opencv-3.4.7-build\modules\dnn\ 目录下
然后继续 mingw32-make
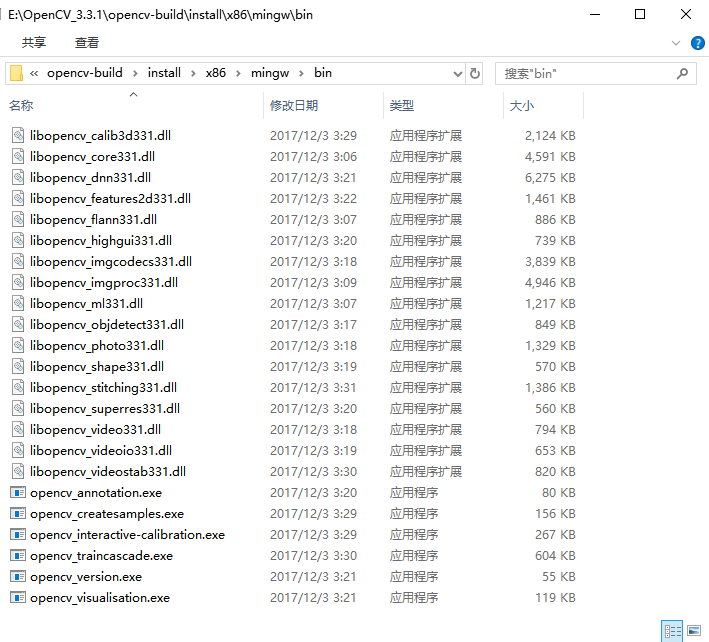
添加 OpenCV 编译的库到环境变量
- 为系统变量
Path添加E:\OpenCV_3.3.1\opencv-build\install\x86\mingw\bin
新建 OpenCV 的 Qt 项目
在 .pro 文件里面添加:
1 | win32 { |
或者:(区分 debug 和 release 是因为 OpenCV 对其两者有不同的库,你需要把路径改为你自己的,我编译 MinGW 的 OpenCV 只有 release 库)
1 | win32 { |
然后在 MainWindow 中如下:
1 | #include "mainwindow.h" |
最后运行起来了,效果如图:
